You've completely prepped your guitar and chosen the right finish. Now it's time for the most exciting part: actually spraying the finish. This is where your project takes shape, but also where a lot can go wrong if you work too quickly or don't use the right techniques. In this blog post, we'll explain step by step how to apply finish neatly and professionally .
1. Work in a suitable space
A dust-free, well-ventilated space is essential for a smooth result.
- Avoid areas with a lot of dust or drafts.
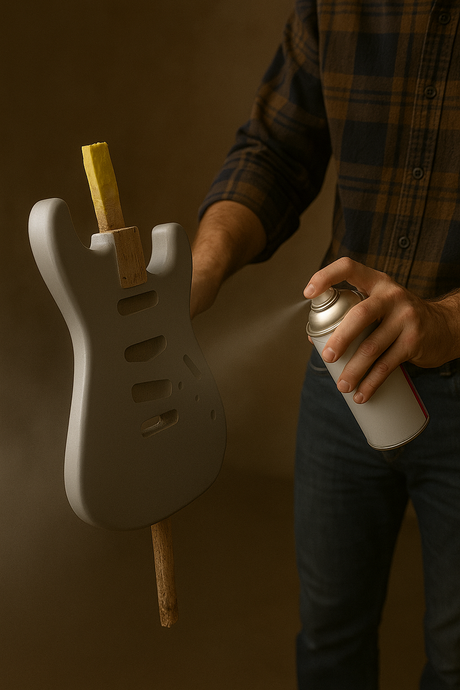
- Preferably work on a stand or hanger so that you can reach the guitar from all sides.
- Make sure the temperature is stable (about 18-24°C).
Tip: Cover the floor and surrounding area with plastic or cardboard to prevent paint mist from getting on other items.
2. Thin layers are key
When spraying a guitar, several thin coats are better than one thick coat .
- Hold the spray gun or aerosol can about 20-30 cm away.
- Move evenly back and forth in lanes, overlapping by about 30% per lane.
- Let the paint be just "wet" enough so that it flows, but not drips.
Advantage: thin layers dry faster, adhere better and prevent drips.
3. Let each layer dry thoroughly
Depending on the type of paint, you must respect the drying time:
- Nitrocellulose: 1-2 hours between coats, full curing takes longer.
- Polyurethane: 30-60 minutes between coats, then lightly sand if necessary.
- Water-based paint: often can be sprayed over after just 30 minutes.
Important: Do not force the drying process with heat, as this may cause cracks.
4. Lightly sand between coats
To get a perfectly smooth surface, light sanding between coats is a must:
- Use fine sandpaper (grit 600-800) or sanding pads.
- Sand very carefully to avoid removing the lacquer layer, only to remove imperfections.
- Always remove sanding dust with a tack cloth or compressed air.
5. Top coats and high-gloss finish
The final layers give the guitar its definitive look:
- Apply 2-3 full top coats, depending on the thickness of the previous coats.
- Want a high-gloss finish? Let the paint cure for at least two weeks (with nitro, even 3-4 weeks). Then you can polish.
- Use polishing paste and a soft cloth (or low-speed polisher) for a deep shine.
Matte finish: Use a matte finish, which usually does not require polishing.
6. Allow the paint to harden thoroughly
A common mistake is reassembling the guitar too soon.
- Nitrocellulose sometimes needs to cure for 3-4 weeks .
- Polyurethane and water-based paints are faster, but wait at least 1-2 weeks.
- The longer you wait, the stronger the paint becomes and the less chance of damage.
Additional tips for success
- Check your spray can or gun regularly: A blockage can cause stains.
- Don't work too fast: Patience is essential for a professional result.
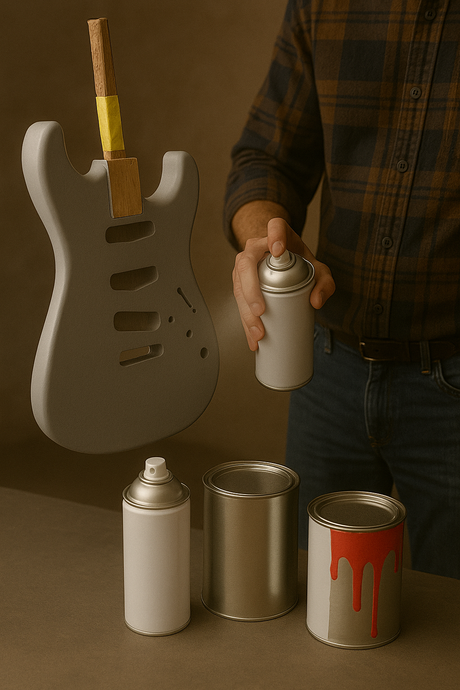
- Color and clear coat: For a colored finish, spray the color first, then always apply several layers of clear coat for protection.
Conclusion
Spraying a guitar is a process that requires precision and patience. By applying thin coats, sanding carefully, and adhering to the correct drying times, you achieve a finish that rivals professional work.


